Running UniFi Network Server Application v9 + MongoDB v7 on a Raspberry Pi 4 (ARMv8-a)
A tutorial to run the v9.0.108 UniFi Network Application using the latest MongoDB v7.0.14 on low power ARMv8-a devices such as the Raspberry Pi 4.

Yes you can run a UniFi Network Server Application (Controller) on a Raspberry Pi 4 and it works very well.
For MongoDB versions 4.4.18 and newer, the ARMv8.2-a instruction set is required. For MongoDB versions 5.0 and newer, the AVX instruction set is required, which is a problem for our low cost low power ARM CPUs. The Raspberry Pi 4 and UXG-Lite are both running older ARM SoCs that are using the ARMv8-a instruction set. Technically, we can run MongoDBv3.6 for this purpose, but this version has been EOL since 2021, and it's never great to run outdated software that is not receiving security patches.
I want to run a version of MongoDB still receiving security updates, so I did a bit of research. I came across this github repo, github user themattman (Matt Kneiser) is compiling MongoDB Server binaries for the ARMv8 architecture, amazing! I created two .deb packages using these binaries, one with just the mongod and mongo binaries as Ubiquiti is only using mongod, and mongo is useful for diagnosing/manually altering the DB, and the second with the required libstdc++6 dependency.
- SSH into your rPi4
- Run
sudo apt install docker-compose net-tools nanothis will install the docker-compose tool, docker, some basic networking tools, and the nano text editor - Run
mkdir ~/unifi-docker && cd ~/unifi-dockerto create a folder in your home directory and navigate to it - Run
nano docker-compose.ymlthis will open up the nano text editor, copy the below block of text into this file (ctrl+cto copy &ctrl+vto paste) and once done pressctrl+xto save the file
version: '3.4'

services:
  unifi-network-armv8-a:
    container_name: farfoxachedocker.unifi-network-armv8-a
    image: farfoxachedocker/unifi-network-armv8-a:latest
    volumes:
      - var-lib-unifi:/var/lib/unifi
      - usr-lib-unifi:/usr/lib/unifi
    network_mode: host
    restart: on-failure

volumes:
  var-lib-unifi:
  usr-lib-unifi:
Copy this block of text into the file docker-compose.yml
- Run
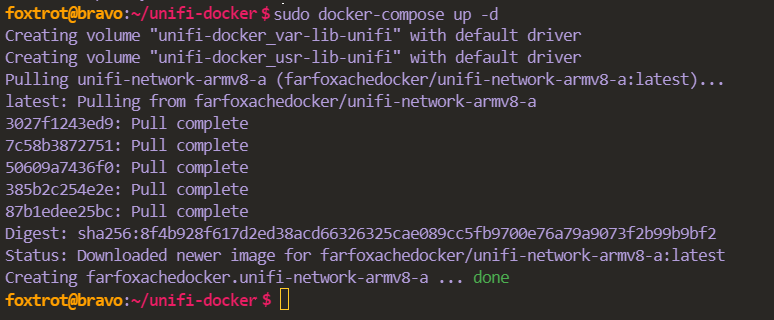
sudo docker-compose up -dthis tells docker-compose to use the instructions in the docker-compose.yml file to build a docker container using my docker image that is pre-built on my public docker hub repository, when it's completed, you should see output like the following image

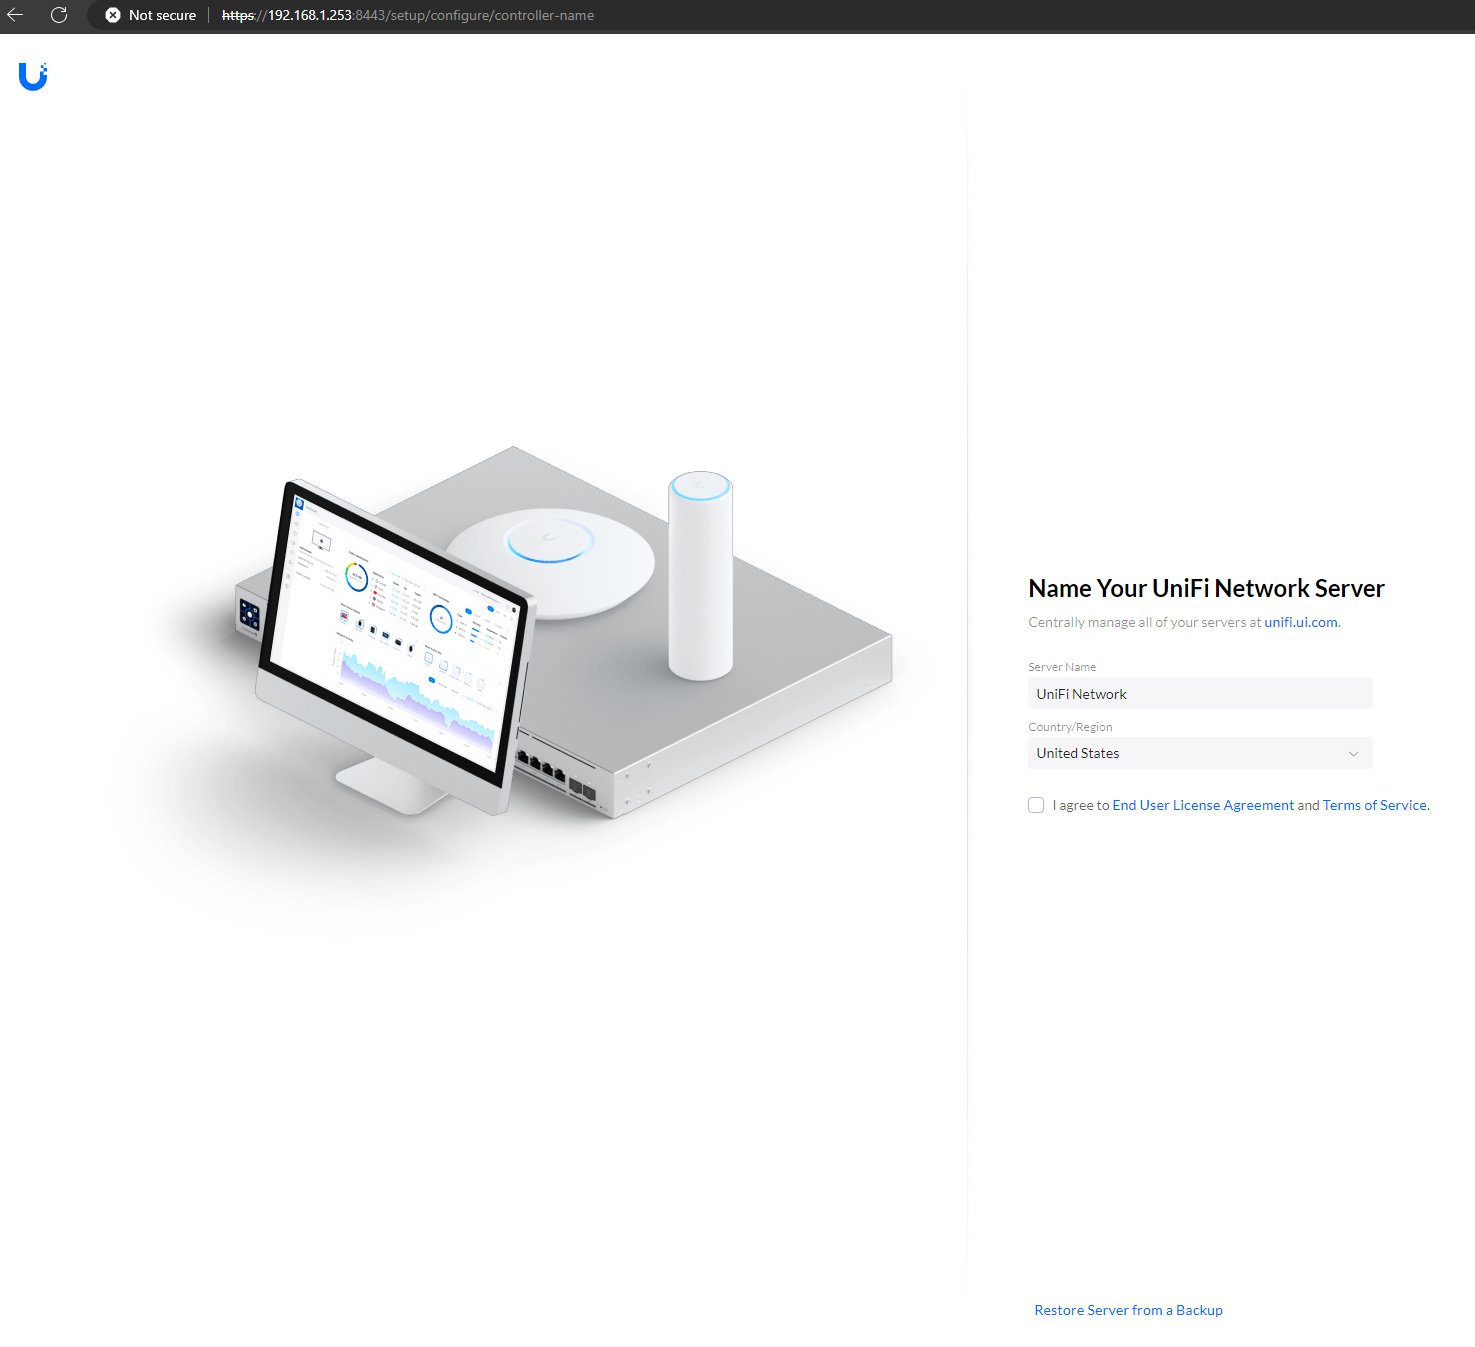
Now the docker container has been created, it's running the docker image and it is going to continue to run the docker image even if we restart the rPI4, it will restart this docker container on system start. We should wait about 3 minutes for the UniFi Network Server Application to initialise itself, then we can access it by typing https://<IP address of rPi4>:8443 into a web browser. If the IP address of my rPI4 is 192.168.1.253, I would type https://192.168.1.253:8443

It says "Not secure" in the web browser, this is because it's using an untrusted TLS certificate issued by Ubiquiti Inc. I like to put a reverse proxy such as NGINX in front and serve my own TLS certificate from Let's Encrypt, but that is a totally different tutorial for another day 🙂
network_mode: host, this instructs the docker container to use the network of the host (rPI4). Any ports opened in the docker container are opened on the host, and so we should correctly configure UFW or iptables on our host to drop any unwanted traffic accordingly.To stop the docker container running
- Run
cd ~/unifi-docker && sudo docker-compose down

To update
The docker container installs the newest available version of the UniFi Network Server Application each time it starts, therefore to update we simply need to stop and start our docker container using the following commands.
- Run
cd ~/unifi-docker && sudo docker-compose downthis stops our docker container running. - Run
sudo docker-compose up -dthis starts our docker container up again and in doing so the init script (start.sh) inside the container will install the latest available UniFi Network Server Application.
If you want to update to the latest version of MongoDB, pull the docker image to retrieve an image that is built with the latest MongoDB.
